
If you have ever swiped through five home screens hunting for your banking app, you already know the problem. The fix is not a prettier wallpaper or a color-coded grid you will abandon by Friday. The best way to organize iphone apps is a simple system: your most-used apps up front, everything else in folders or the App Library, and search as your safety net.
This guide sets that system up in about twenty minutes, using only features built into iOS. No organizer apps, no complicated rules, and nothing you have to maintain every week.
Step 1: Decide What Earns a Spot on the First Screen
Start with an honest audit. Your first home screen should hold only the apps you open every single day: phone, messages, mail, camera, maps, your browser, your bank, and maybe music. For most people that is ten to sixteen apps, not forty.
Everything else gets demoted, and that is fine, because iOS gives you three other places to keep apps: later home screen pages, folders, and the App Library. The goal of this first pass is simply to stop treating every app as equally important.
A quick way to see your real habits: open Settings, tap Battery, and look at the activity list. The apps draining the most screen time are your true daily drivers, whatever you expected them to be.
If your phone is new, do this step before installing anything extra, and add only the must have apps for iphone owners tend to keep permanently.
Step 2: Use Folders the Smart Way
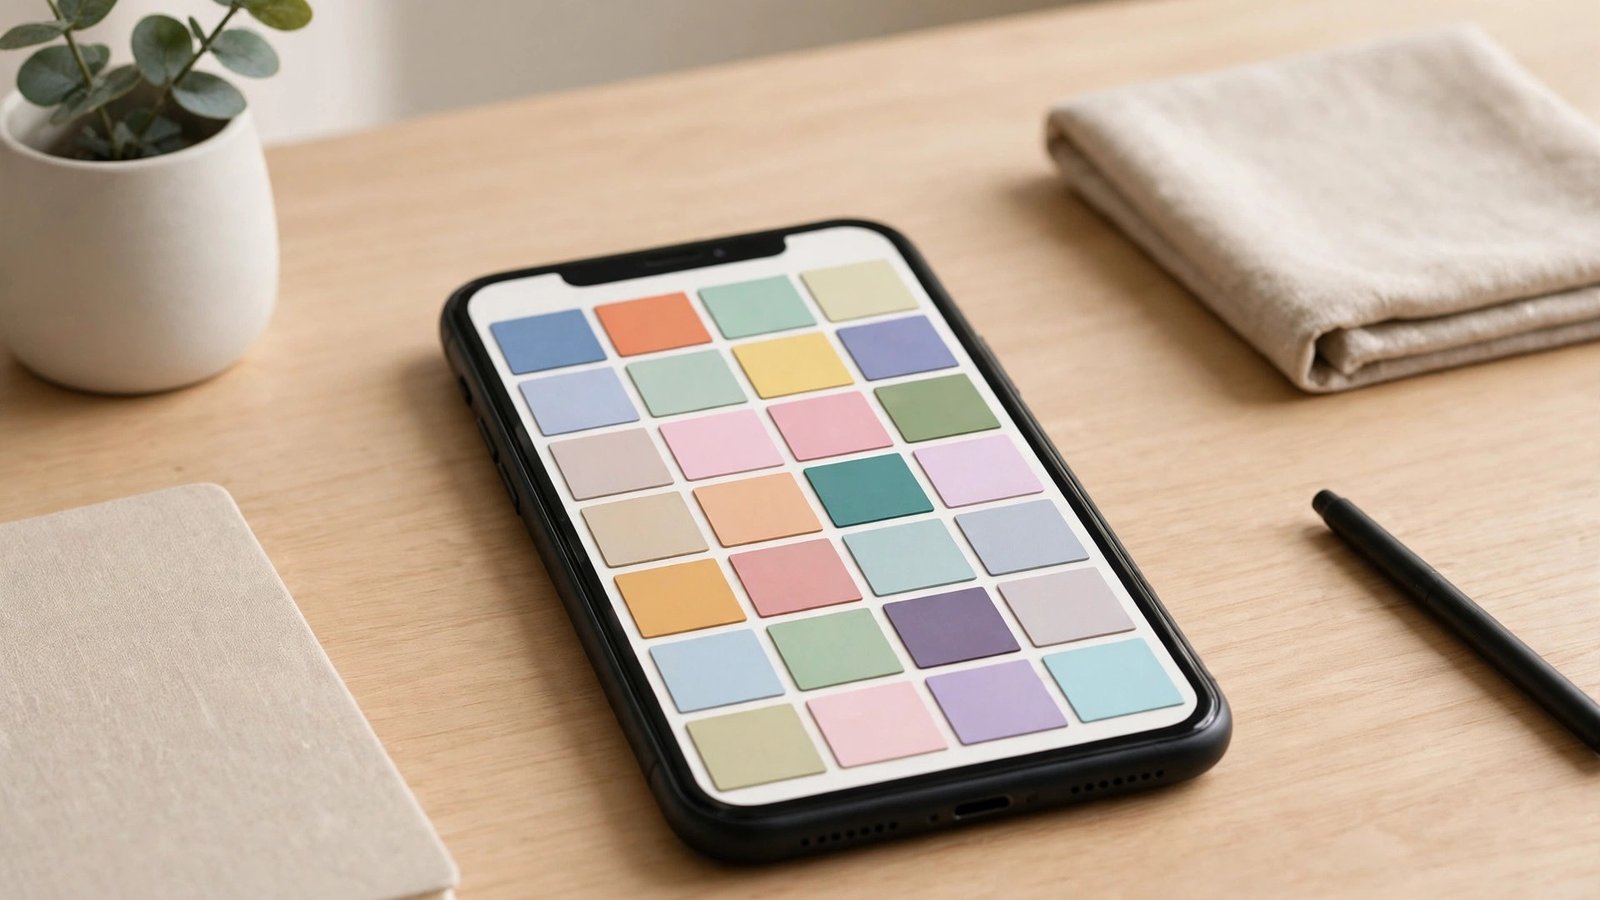
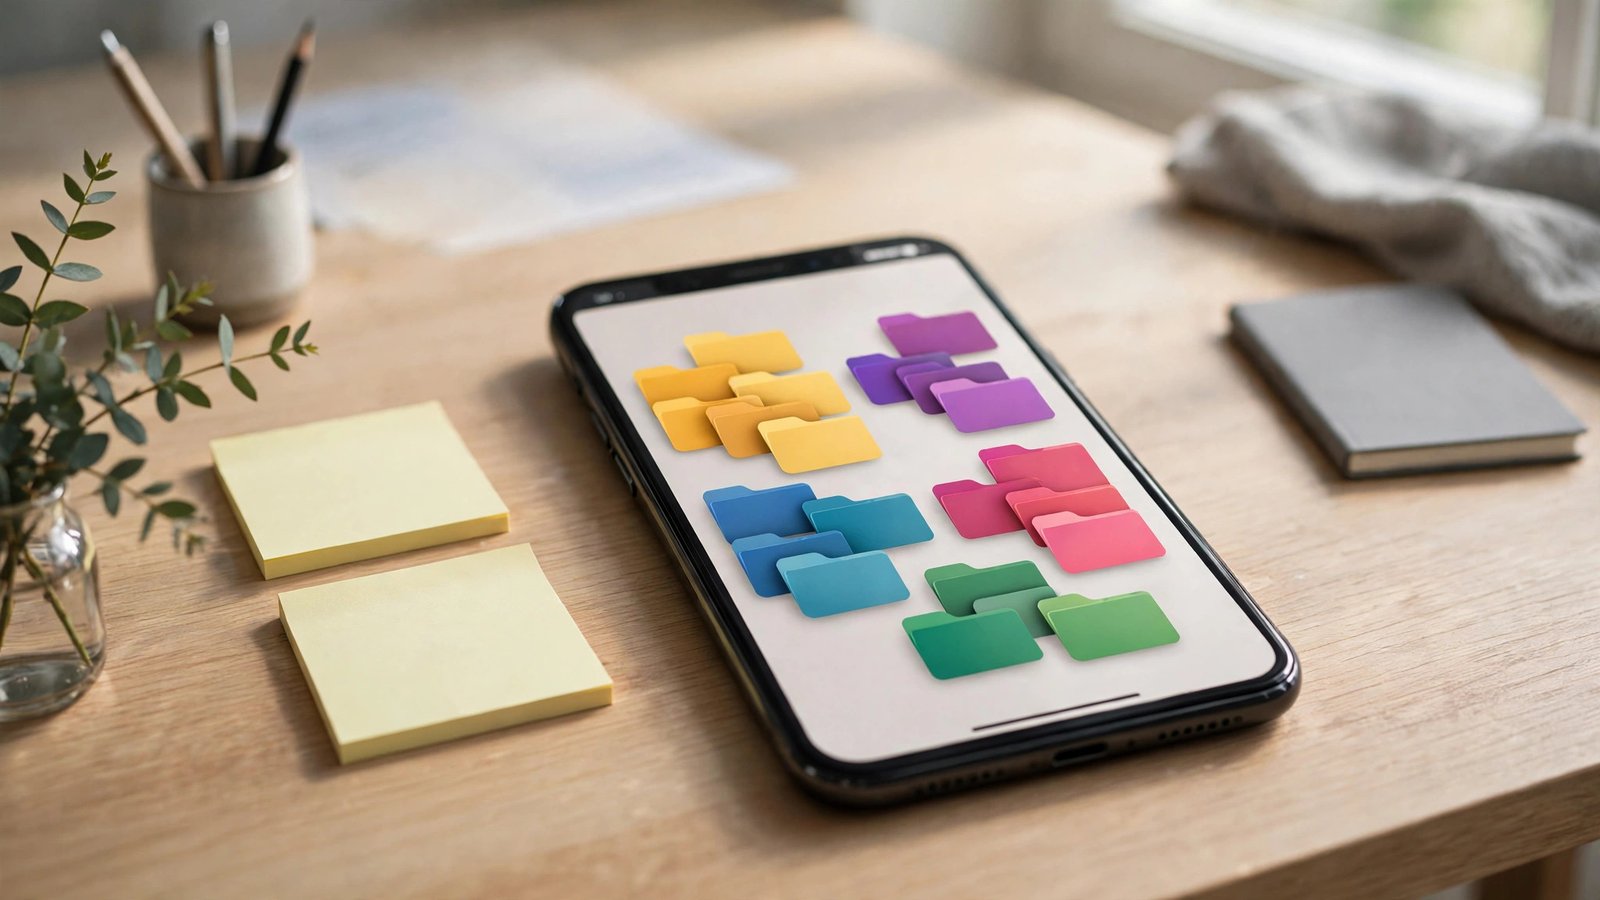
Folders get a bad reputation because people build too many of them, with names so vague (“Stuff,” “Misc 2”) that the folder becomes a junk drawer. Used sparingly, though, folders are the backbone of a tidy phone.
Build a handful of action-based folders instead:
- Money — banking, payments, budgeting
- Travel — airlines, hotels, ride-hailing, transit
- Food — delivery, recipes, grocery lists
- Health — fitness, meditation, pharmacy
- Work — chat, documents, video calls
- Play — games and streaming that did not make the first screen
To create one, drag an app icon onto another. Name it by what you do (“Pay”) rather than what the apps are (“Finance Apps”), because your brain searches by intention in the moment. Six or seven folders total is plenty; more than that and you have rebuilt the mess one level down.
Step 3: Let the App Library Do the Heavy Lifting
The App Library, introduced with iOS 14 and described in Apple’s own history of iOS 14, automatically sorts every installed app into smart categories and sits at the end of your home screens. Its existence changes the organizing game: apps no longer need a visible home at all.
Use it like this. For any app you use weekly or less, long-press its icon, tap Remove App, and choose “Remove from Home Screen” rather than Delete. The app vanishes from your pages but stays in the App Library, fully installed, one swipe away.
Turn on the App Library’s search list by swiping down inside it: an alphabetical list of everything you own. Between alphabetical search and Spotlight (swipe down on any home screen and type two letters), you will open apps faster than you ever did by hunting icons.
This trick pairs beautifully with any cross-platform decluttering advice, because the fewer apps you keep, the less organizing you ever have to do.
Step 4: Trim, Hide, and Offload What You Do Not Use
Now the cleanup itself. Work through your full app list in Settings, then General, then iPhone Storage, sorted by last used. Anything untouched for three months is a deletion candidate. Remember, deleting is not forever: your purchases stay in your account for free re-download.
Three gentler options exist for the maybes:
- Offload Unused Apps (in the same Storage screen) removes apps automatically while keeping their data, and restores them with one tap when needed.
- Hide entire home screen pages by long-pressing an empty area, tapping the dots at the bottom, and unchecking a page. The apps stay installed; the clutter disappears.
- Remove from Home Screen (above) keeps the app but deletes its icon from your pages.
If reinstalling or restoring anything ever misbehaves, our fix guide for the app store double click to install quirk covers the most common snag.
Step 5: Add Widgets and a Smart Stack
Widgets turn your first screen from a launcher into a dashboard. Weather, calendar, reminders, and battery widgets answer questions without opening an app at all, which quietly reduces how many icons you need nearby.
Add a Smart Stack (long-press an empty area, tap +, choose Smart Stack) to rotate several widgets in one square: calendar in the morning, music in the evening, news at lunch. Keep the stack to four or five widgets or it becomes a slot machine you stop reading.
Limit of thumb: one widget stack and maybe one large widget on the first screen. More than that pushes your daily apps down and defeats the purpose.
Two smaller features round out a smart setup. First, the Dock at the bottom of the screen holds four apps on every page, so reserve it for the universal four: phone, messages, browser, and camera (or mail, if you live in email). Second, consider removing the red notification badges from distracting apps under Settings, then Notifications. The icons stay put and stay organized, but they stop shouting at you between uses, which makes a tidy layout feel tidy as well as look it.
Step 6: Use Focus Modes to Swap Screens Automatically
Here is the power move most people never discover: iOS Focus modes can each have their own home screen pages. Create a Work focus linked to a page holding only work apps and a calendar widget, and a Personal focus linked to your normal page. When Work focus turns on, on a schedule or by location, your phone physically rearranges itself.
To set it up, open Settings, then Focus, pick or create a focus, and under Customize Screens choose which home screen pages appear while it is active. Build the dedicated work page first (see Step 4 for how to show and hide pages), then link it. The effect is startling the first week: the 9 a.m. phone simply does not contain the games and social apps, so there is nothing to resist.
You do not need many focuses. Work and Personal cover most people, and Sleep mode can hide everything except the clock, weather, and phone for a genuinely calm bedtime screen.
Keeping It Tidy: A Five-Minute Monthly Habit
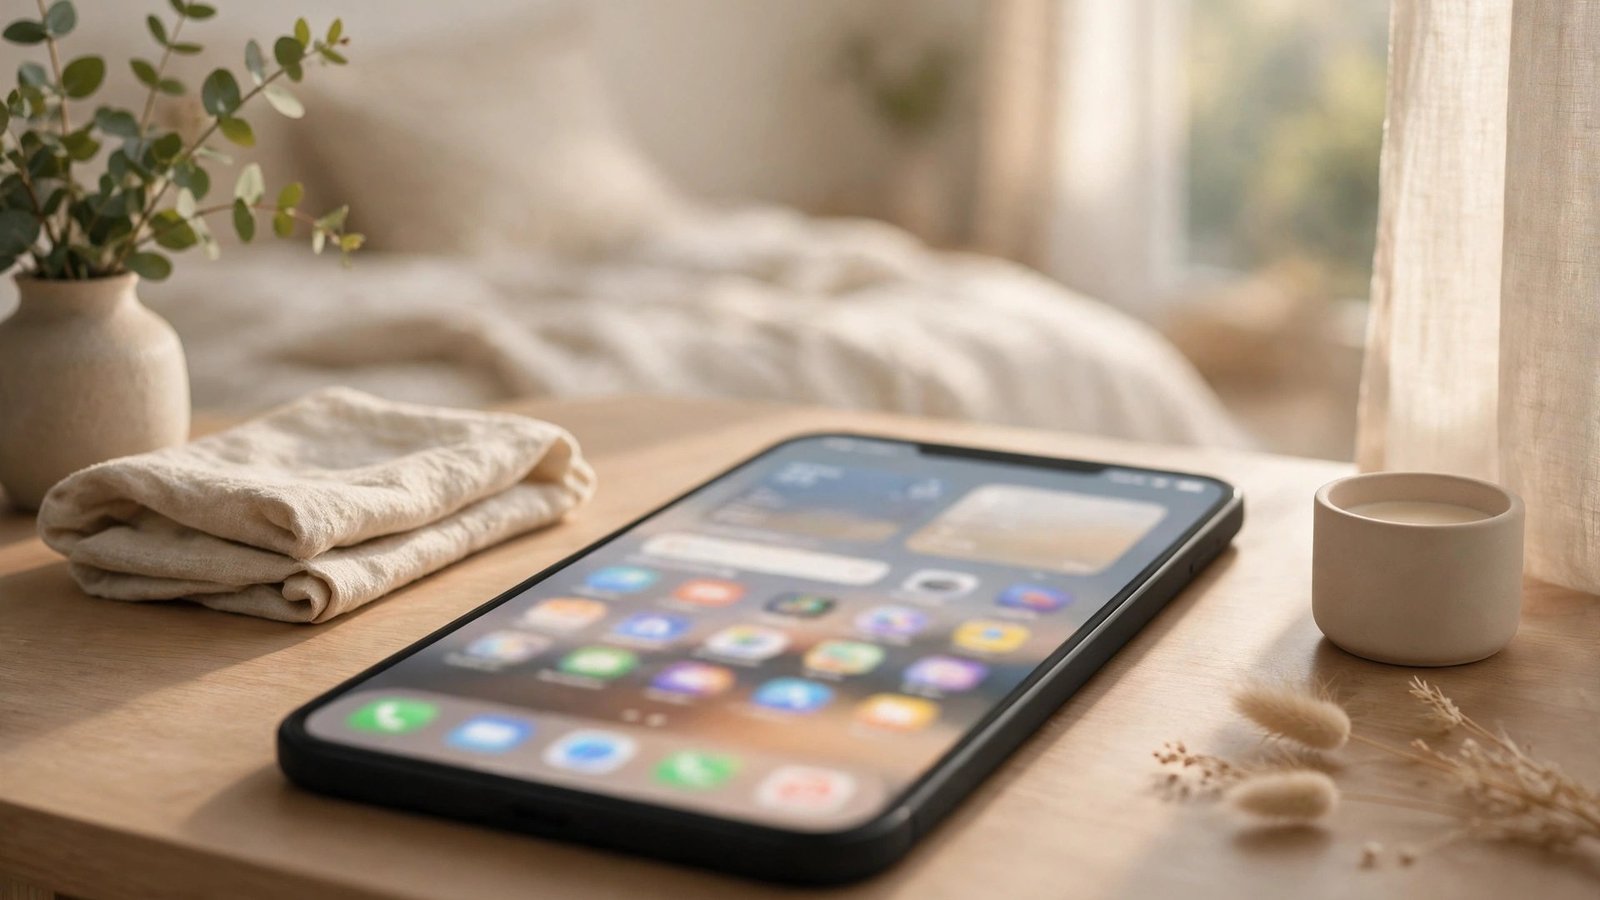
Systems fail when they demand constant effort, so make maintenance nearly zero-effort. Once a month, while something else downloads or brews, do three things: delete anything you have not opened since last time, move new installs out of the “recently added” pile into a folder or the Library, and glance at your first screen to confirm it still matches your real life.
New apps deserve a probation rule: every fresh install starts in the App Library, and it only earns a home screen or folder spot after two weeks of genuine use. Android owners have their own version of this system in our guide to finding the right app to organize apps android users rely on.
Common Mistakes to Avoid
- Organizing by color or alphabet across the whole phone. Pretty screenshots, miserable daily use. Your thumb does not think in rainbows at 7 a.m.
- Twenty folders with two apps each. That is just a second app drawer with extra taps.
- Deleting apps you need rarely but urgently. The airline app you open twice a year should live in the App Library, not the trash, on the morning of a flight.
- Copying someone else’s layout. Your first screen should mirror your routines, not an influencer’s.
- Letting new downloads land on the home screen. Change this default under Settings, then Home Screen & App Library, so new apps go straight to the Library and your pages stay exactly as you designed them.
Frequently Asked Questions
What is the best way to organize iPhone apps: folders or App Library?
Use both, for different jobs. Folders hold groups you browse deliberately, like travel or money. The App Library holds everything else, reachable by search. The first screen stays manual and minimal.
How do I find an app I removed from the Home Screen?
Swipe left past your last home screen page to open the App Library, or swipe down anywhere and type its name in Spotlight. Removing from the Home Screen never uninstalls the app.
How many home screen pages should I have?
One or two is the sweet spot for most people: one page of daily apps and widgets, and optionally a second for folders. Everything else belongs in the App Library.
Can I organize apps automatically on iPhone?
Partly. The App Library categorizes apps automatically, and you can set new downloads to go straight there under Settings, then Home Screen & App Library. Your visible pages stay in your control.
Will organizing apps delete my data?
Deleting an app removes its data. Removing it from the Home Screen or offloading it does not. When in doubt, offload: documents and settings are preserved for the reinstall.
Conclusion
Organizing an iPhone is a one-time setup, not a lifestyle. Give your daily apps the first screen, group the rest into a few honest folders, let the App Library hold the long tail, and search instead of swiping. Twenty minutes today buys you a phone that answers the moment you pick it up.
If the full routine feels like a lot, do only Steps 1 and 3: clear the first screen down to your true daily apps and banish everything else to the App Library. Those two moves deliver most of the benefit, and you can add folders and Focus screens on some later weekend when the mood strikes.
